There are desserts… and then there are desserts that feel like they should come with a blanket and a movie recommendation.
This is one of those desserts.
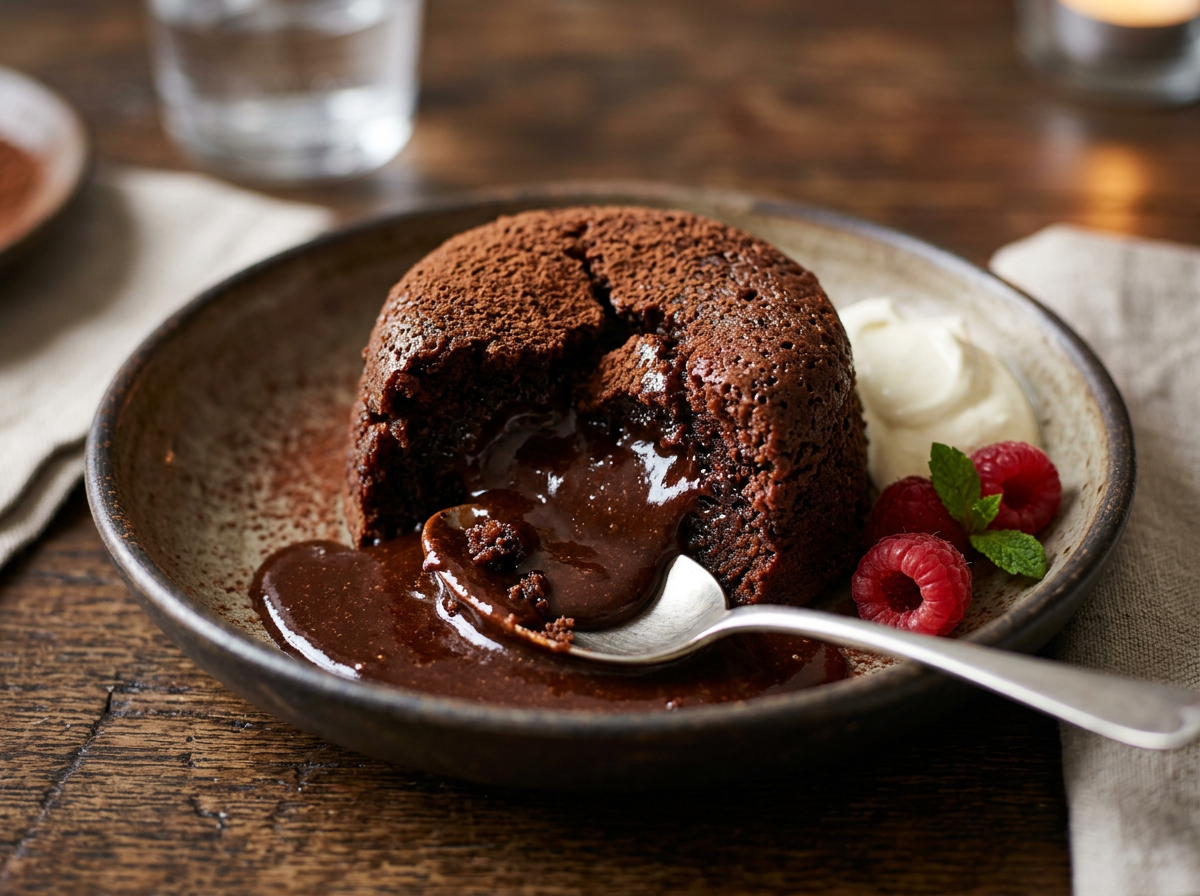
A proper Chocolate Self-Saucing Pudding is one of Australia’s great comfort food achievements. Somewhere between cake and molten chocolate magic, it somehow creates its own rich sauce underneath while baking — which still feels suspiciously like kitchen witchcraft no matter how many times it happens.
The problem is most recipes make enough to feed an entire dinner party.
And sometimes you just want a warm chocolate dessert for one person without accidentally committing to three straight nights of pudding-related decisions.
This solo version keeps everything wonderful about the classic:
- soft chocolate sponge
- rich warm sauce
- minimal effort
- maximum comfort
All scaled perfectly for one ramekin and one very justified dessert moment.
Ideal for cold nights, stressful weeks, breakups, bad weather, tax season, or honestly just surviving adulthood in general.
Why You’ll Love This Self-Saucing Pudding
- Perfect single-serve dessert
- Rich chocolate sauce forms while baking
- Uses simple pantry ingredients
- No mixer required
- Ready in about 30 minutes
- Comfort food without endless leftovers
- Beginner-friendly baking recipe
Ingredients
Pudding Batter
- ¼ cup self-raising flour
- 1 tablespoon cocoa powder
- 2 tablespoons brown sugar
- Pinch of salt
- 2 tablespoons milk
- 1 tablespoon melted butter
- ¼ teaspoon vanilla extract
Sauce Topping
- 1 tablespoon brown sugar
- 1 teaspoon cocoa powder
- ¼ cup boiling water
Optional Extras
- Dark chocolate chips
- Pinch of cinnamon
- Vanilla ice cream
- Greek yoghurt
- Strawberries or raspberries
Equipment
- Small ramekin or oven-safe dish
- Mixing bowl
- Spoon
Instructions
Step 1: Preheat the Oven
Preheat your oven to 180°C (fan-forced).
Lightly grease your ramekin or baking dish.
Step 2: Make the Batter
In a bowl, combine:
- flour
- cocoa powder
- brown sugar
- salt
Add:
- milk
- melted butter
- vanilla
Mix until smooth.
Spoon the batter into your prepared ramekin.
Step 3: Create the Sauce Layer
In a small bowl, mix together:
- brown sugar
- cocoa powder
Sprinkle evenly over the pudding batter.
Carefully pour the boiling water over the back of a spoon onto the mixture.
Do not stir.
This part feels deeply incorrect every single time, but trust the process.
Step 4: Bake
Bake for 20–25 minutes until:
- the top looks set
- the pudding has risen slightly
- hidden chocolate sauce lurks underneath like a delicious secret
Step 5: Serve Warm
Let the pudding sit for 2–3 minutes before serving.
Carefully spoon down into the bottom to get the warm chocolate sauce.
Serve with ice cream, yoghurt, or absolutely no restraint whatsoever.
Nutritional Highlights
This dessert offers:
- portion-controlled comfort food
- lower waste baking
- manageable indulgence for solo eaters
Using a small ramekin helps keep serving sizes realistic while still feeling satisfying and decadent.
Because sometimes one warm pudding is enough therapy for the evening.
Easy Variations
Mocha Pudding
Add ½ teaspoon instant coffee to the batter.
Dark Chocolate Version
Add dark chocolate chips to the sponge mixture.
Salted Chocolate
Sprinkle flaky sea salt over the finished pudding.
Berry Chocolate Pudding
Add a few raspberries before baking.
Spiced Winter Version
Add cinnamon or a pinch of chilli powder.
Storage Tips
Best Eaten Fresh
This pudding is at its absolute best warm from the oven.
Reheating
If needed, microwave leftovers for 20–30 seconds.
The sauce may thicken slightly after refrigeration.
Budget Tip
This recipe uses mostly pantry staples:
- flour
- cocoa
- sugar
- milk
Which means you can usually make it without a special supermarket trip — always a bonus when a dessert craving appears suddenly and aggressively.
Perfect Pairings
This pudding goes beautifully with:
- vanilla ice cream
- whipped cream
- Greek yoghurt
- coffee
- hot chocolate
- strawberries
Or simply enjoy it exactly as it is while watching something comforting and ignoring your inbox for an hour.
Frequently Asked Questions
Why didn’t my sauce form?
Usually this happens if:
- the water wasn’t hot enough
- the pudding was overbaked
- the topping wasn’t evenly distributed
A little sauce hiding underneath is normal — it settles at the base while baking.
Can I make this dairy-free?
Yes. Use:
- plant milk
- dairy-free butter
Can I make it gluten-free?
Yes. Replace the flour with:
- gluten-free self-raising flour blend
Can I double the recipe?
Absolutely. Use a larger baking dish and increase baking time slightly.
Though the entire point of this recipe is avoiding a dangerous quantity of pudding leftovers.
More Solo-Friendly Baking Recipes
If you enjoyed this recipe, you might also like:
- Mini Banana Bread Loaf
- Single-Serve Apple Crumble
- Small-Batch Savoury Muffins
- Tiny Focaccia for One
Because solo baking should feel comforting — not like accidental catering.
Final Thoughts
There’s something deeply satisfying about a dessert that feels far more impressive than the amount of effort involved.
This Solo Chocolate Self-Saucing Pudding delivers maximum comfort with minimal fuss, creating a warm, rich chocolate dessert in one perfectly manageable ramekin.
No giant baking trays.
No mountain of leftovers.
No pretending you’ll “save some for tomorrow.”
Just warm chocolate pudding exactly when you need it most.
Which, statistically speaking, is probably more often than any of us would like to admit.
Enjoyed This Recipe?
Save it for your next comfort-food emergency, share it with another solo eater, or explore more easy small-batch recipes at Plan4One.com.

Leave a Reply